
Zip through configuring and managing OLAM from the foundation up – Navigating Ansible Waters
Zip through configuring and managing OLAM from the foundation up
Managing OLAM can be done either through the UI or via the CLI. Here, we’ll be working through the UI. Think of it this way – OLAM is the platform on which you’ll be managing your projects, inventories, playbooks, and automation through either your UI or CLI. Projects are at the top layer, and the hierarchy descends from there to playbooks and, eventually, triggering automations. Whether you use the UI or CLI, you’ll have granular control over your key environments.
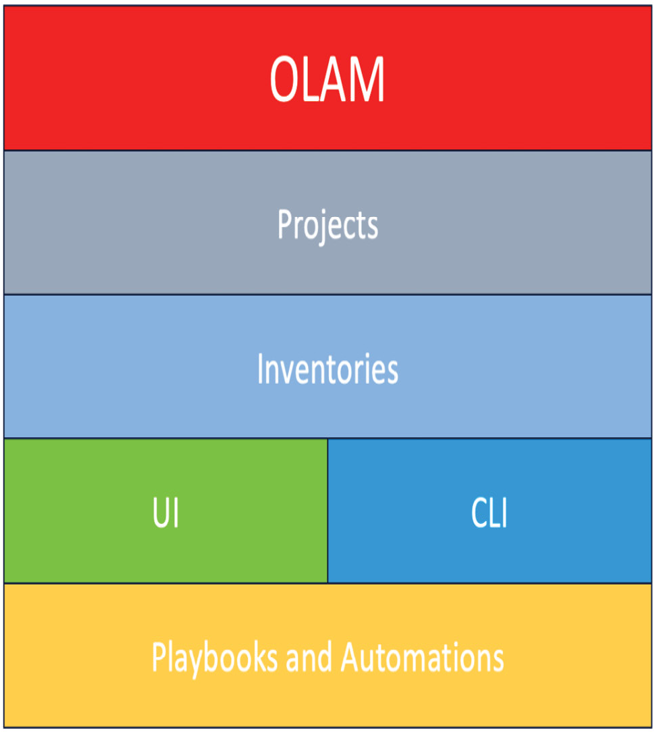
Figure 12.15 – The OLAM hierarchy
This recipe will walk you through viewing, understanding, and executing basic commands in your OLAM environment, creating projects, managing groups, and adding to inventories.
Getting ready
As shown in the following figure, and in the previous recipe, you’ll want to log in to your OLAM environment:

Figure 12.16 – OLAM first-time login
The first and highest level in the OLAM hierarchy is the project. You must create a project, and that will be the host to all the playbooks and automation in that hierarchy. You can have multiple projects that are assigned to different assets and inventories. Let’s see how to do that in the following steps:
- In order to create a project, you’ll want to go to the Resources tab and navigate to Projects:
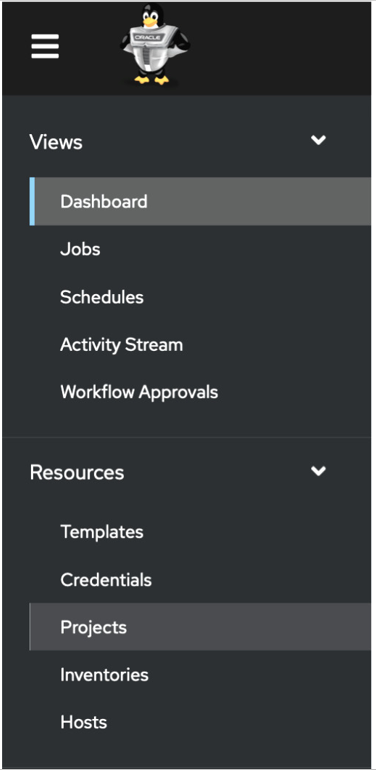
Figure 12.17 – The OLAM Projects option
- Once in Projects, click Add. This will open up a window where you can define the project.
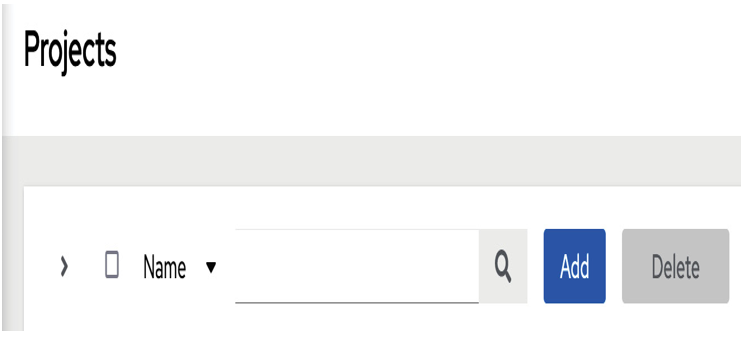
Figure 12.18 – Adding a project
- Once you’ve opened up your project configuration page, you’ll want to strategize how you want your project to look. In this case, we’re creating a test environment, and we have set up two separate test nodes for lab purposes. Defaults are used for the playbook directory as well as the project path.
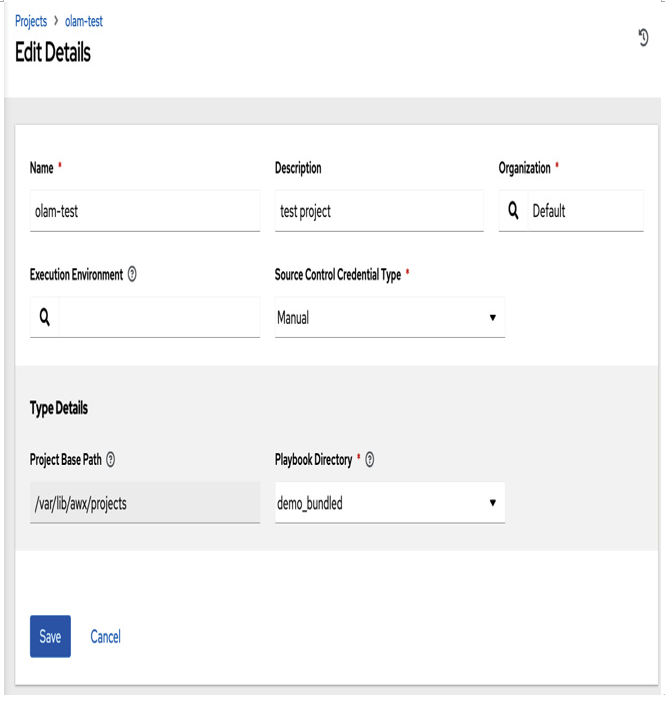
Figure 12.19 – The project variables
- After you’ve configured your project, you will want to save that information, which will bring you to a screen showing your fully configured project.

Figure 12.20 – The project configuration page
- Once you’ve configured your project, you’ll want to configure your credentials, much like your project, as shown here:
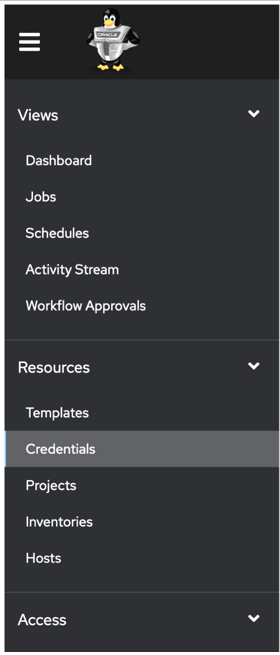
Figure 12.21 – The Credentials option
- The next step is to add your credential data for your opc user and machine.
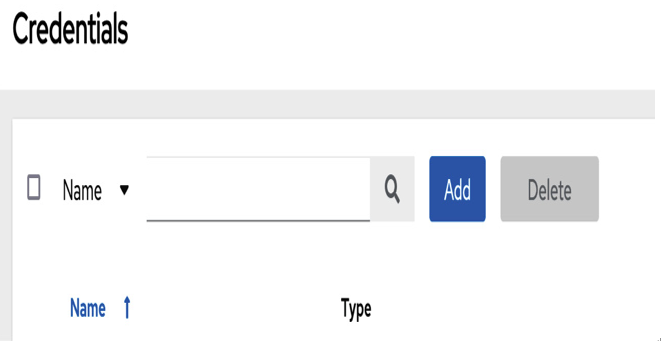
Figure 12.22 – Credential addition
- You’ll want to either copy or create a key, which you’ll use to access machines. Paste it into the SSH Private Key section, and enter the names of your key and user.
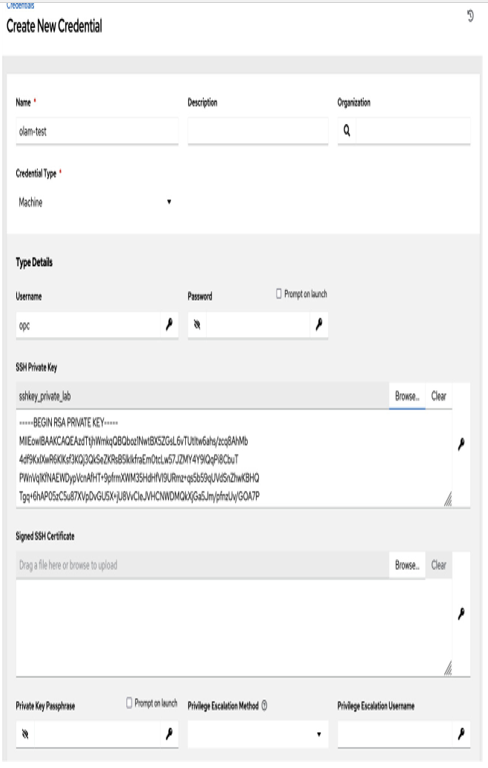
Figure 12.23 – Credential variables and the SSH private key
- After you save the credential, the configured credential will be displayed, as shown here:
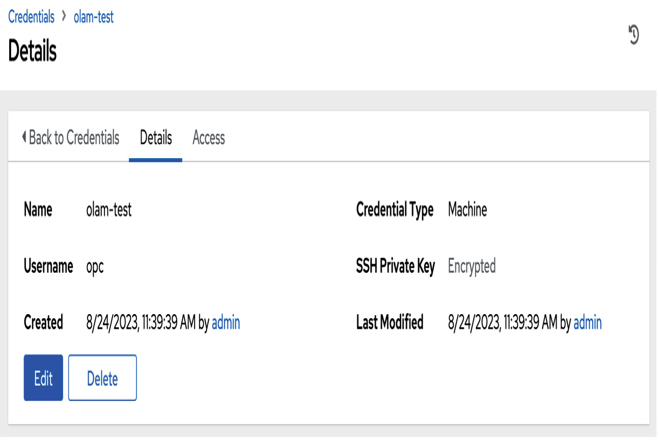
Figure 12.24 – Credential configuration page
- Next, you’ll need to add an inventory. Remember that two test virtual machines were created for this, and in this recipe, they will be used as test environments. Select Inventories, and follow the next steps to define the inventory after selecting.
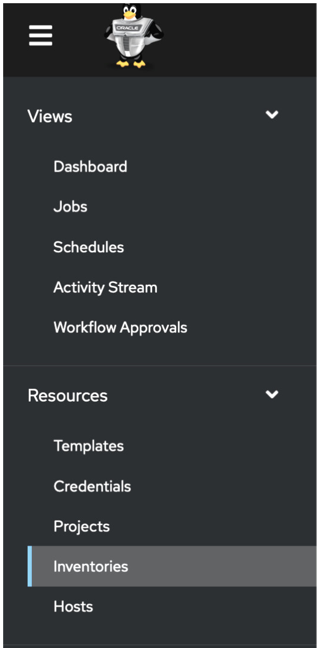
Figure 12.25 – The Inventories option
- Click on Add to create and define your new inventory:
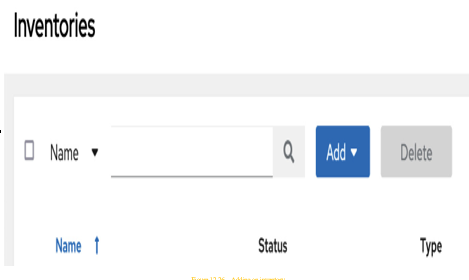
Figure 12.26 – Adding an inventory