
Using VirtualBox to springboard VMs to OCI 5 – Let’s All Go to the Cloud
- Now, under Oracle Cloud Infrastructure, you’ll see your new profile, OCI. You can click on Properties, which will allow you to configure that OCI profile.
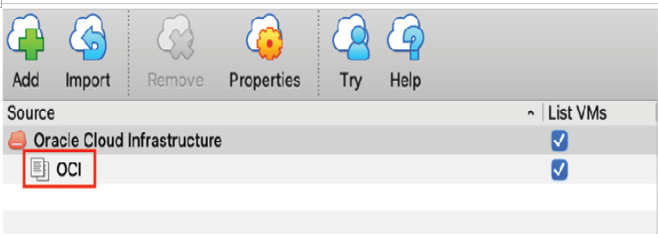
Figure 13.43 – Name committed
- This is where it’s handy to have the OCI portal open in another window, or cut and paste the variables in a notepad. You’ll need all the info we went over a couple of sections ago in Figure 13.40.
- The first OCID you’ll want to copy is that of user:
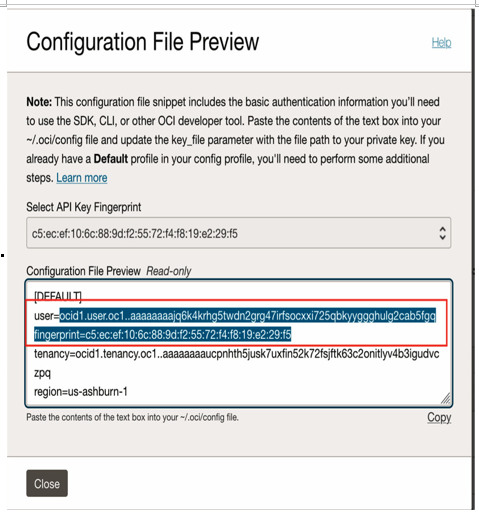
Figure 13.44 – User OCID
- Paste that OCID into the user property on the OCI profile, shown in the preceding screenshot, into VirtualBox. Hopefully, you’ll now see where we’re going with this.
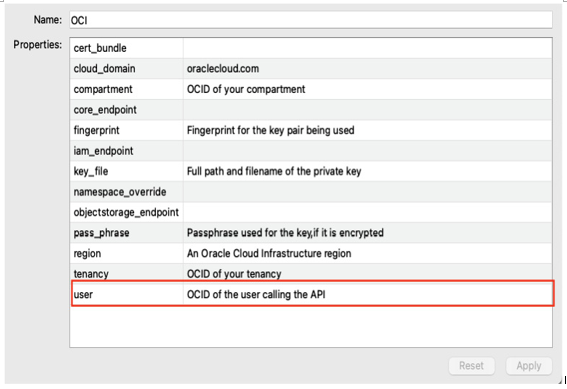
Figure 13.45 – Configuring the user OCID
- As previously, but this time with tenancy, copy the OCID and go back to VirtualBox.
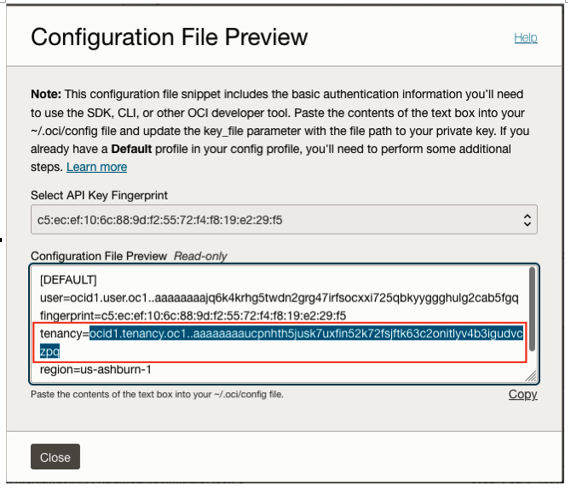
Figure 13.46 – Tenancy OCID
- Again, as previously, paste the tenancy OCID in the tenancy field.
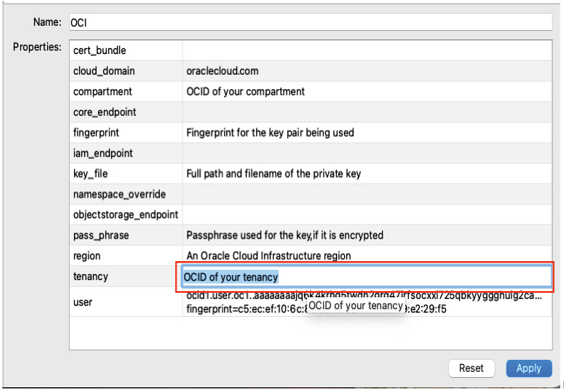
Figure 13.47 – Configuring the tenancy OCID
- Go back to your notepad or OCI portal and copy the region value, in this case, us-asburn-1, as the following screenshot will show. Remember, all this will make sense shortly. Essentially, what we’re doing is instructing VirtualBox where to go, how to get there, and what region, tenancy, user, and key to use for access.
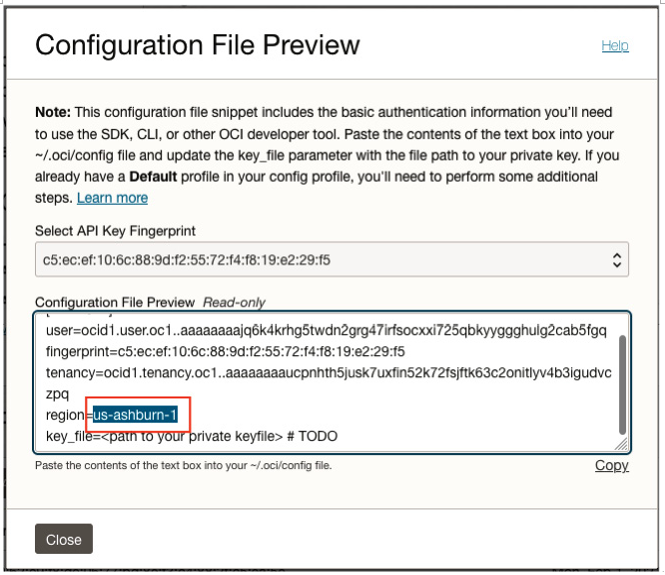
Figure 13.48 – Region
- As previously, paste the region in the correct field.
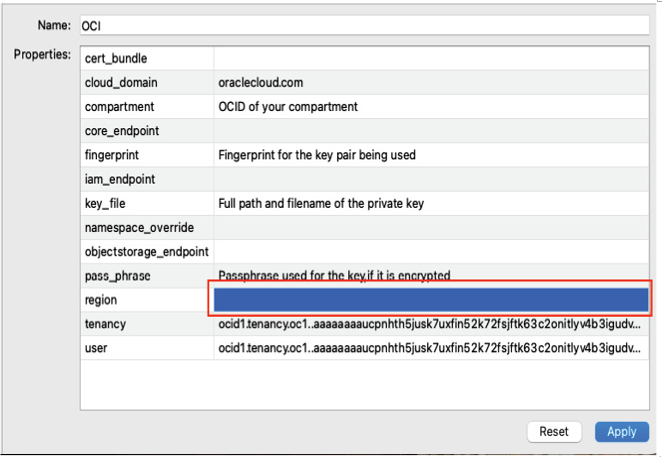
Figure 13.49 – Configuring the region
- Next, you’ll need to go to the OCI console or notepad and copy the fingerprint value to input into VirtualBox.
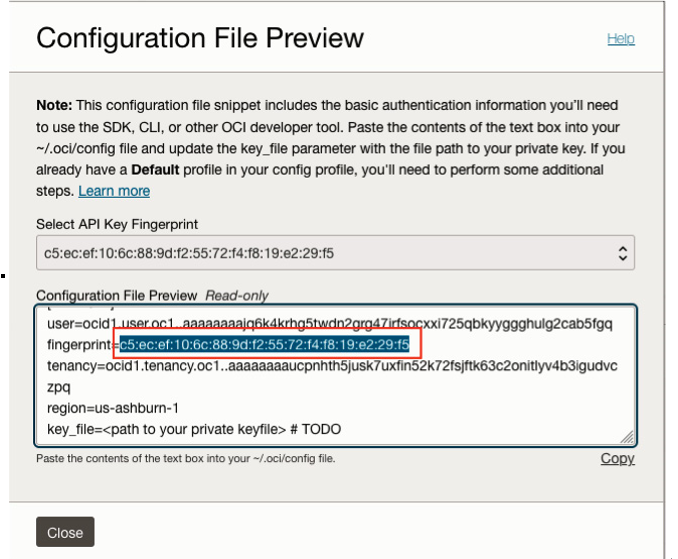
Figure 13.50 – Fingerprint
- Again, paste that fingerprint value into the appropriate field.
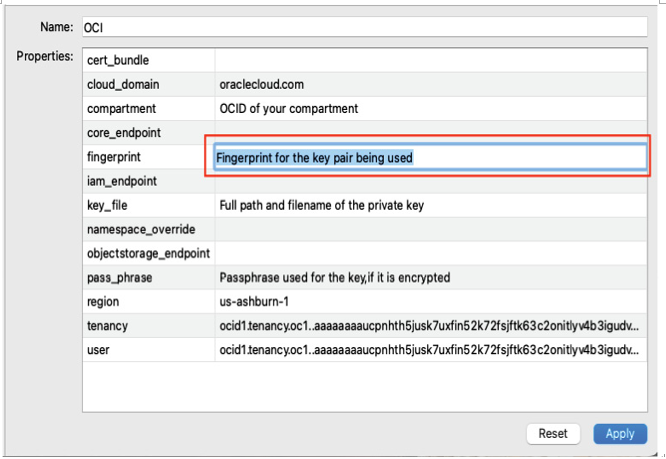
Figure 13.51 – Configuring the fingerprint
- One of the last entries is the location of the private key you created. This is not in OCI, but rather in your local system, where you created it. Remember, the private key is the local key, which shouldn’t be shared. You’ll want to capture that path and go back to VirtualBox.
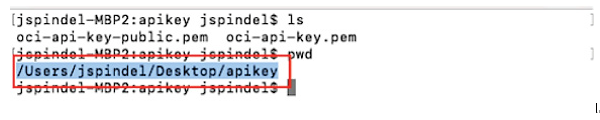
Figure 13.52 – API key location
- As shown previously, paste the path into the appropriate field.
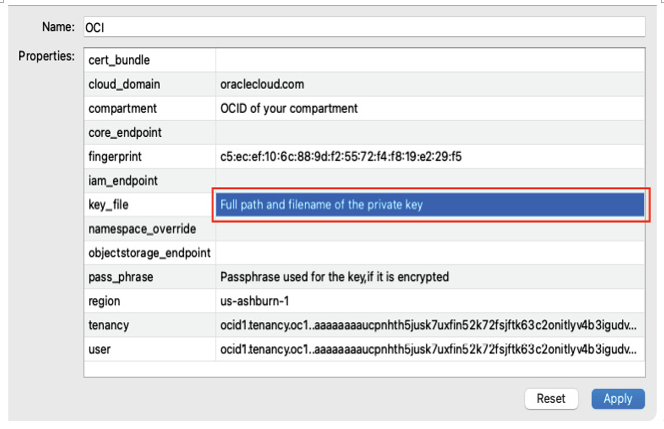
Figure 13.53 – Configuration key location
- Last but not least, you’ll want to go back to your OCI portal and find the Compartments menu. I find a simple search to be the easiest way of locating this option, but if you want to go directly to it, you’ll find it under Identity.
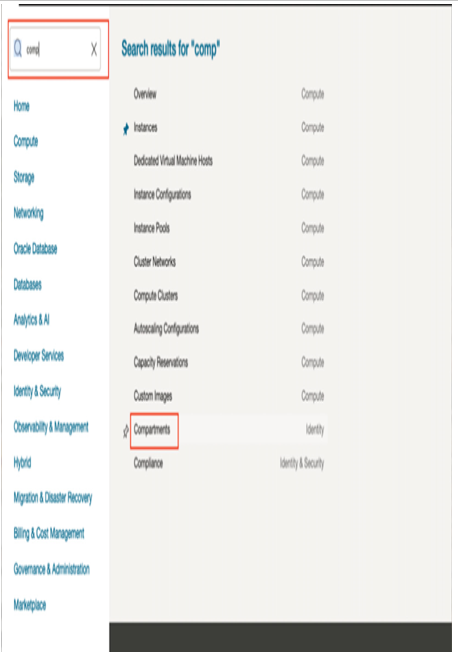
Figure 13.54 – Compartments
- Expand the compartment you want to use and copy the OCID to enter it into the VirtualBox OCI configuration.
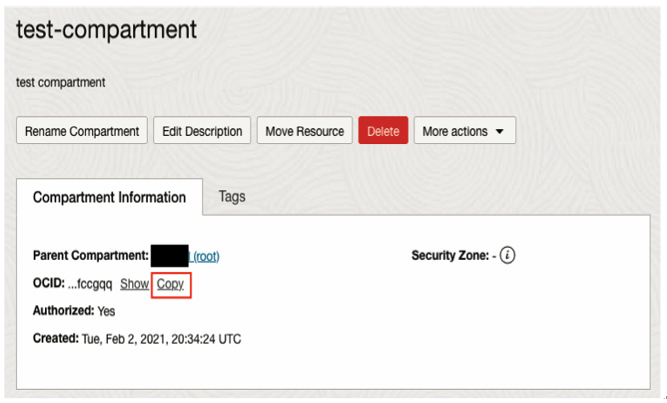
Figure 13.55 – Compartment selection
- As shown previously, paste that OCID into the appropriate field.
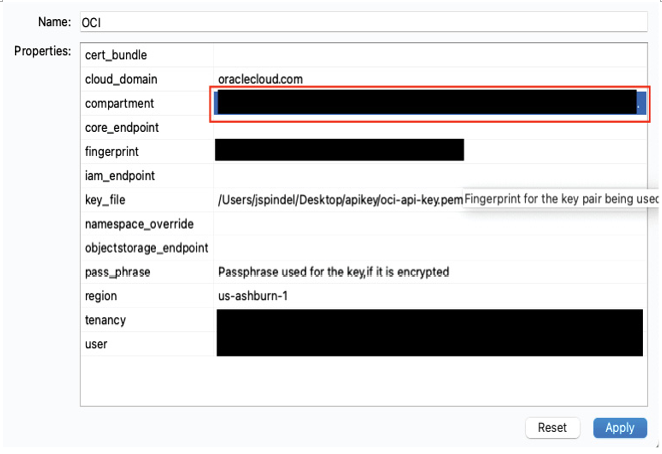
Figure 13.56 – Configuring the compartment
- After all the data is entered, you should see that OCID’s region, user, tenancy, key file location, compartment, and fingerprint properties are all populated.
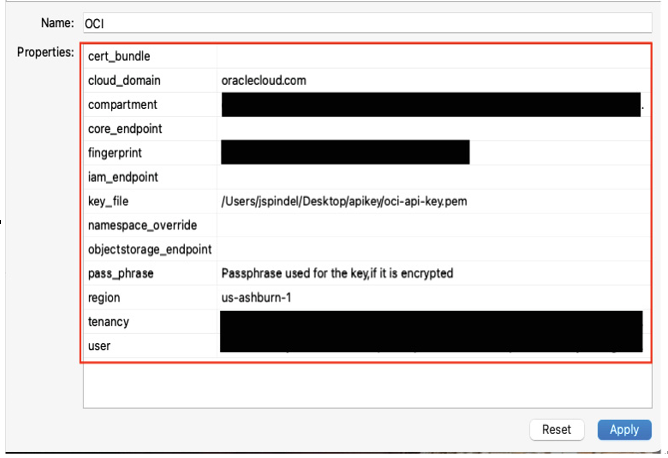
Figure 13.57 – Completed configuration
- Once you’ve confirmed that everything is complete, apply the settings. You’ll see the new profile show up; we named it OCI.
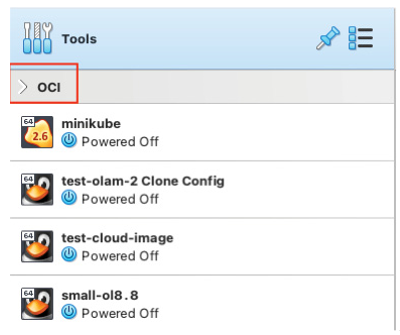
Figure 13.58 – VirtualBox OCI
- If you expand that profile, you’ll see the tenancy is now empty. If you already had infrastructure deployed there, you would see those resources show up here, provided they are running in the same compartment as the OCID entered in the profile.
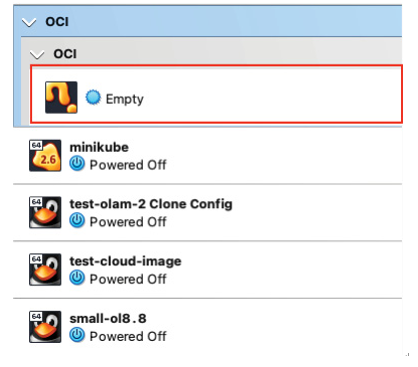
Figure 13.59 – Expanded OCI