
Making Docker Desktop more manageable with Portainer 3 – Let’s All Go to the Cloud
How to do it…
- Now we’re ready to start installing and configuring our Portainer environment. We’ll have to first create a volume for Portainer. We do this by telling Docker to create that volume:
[opc@portainer2 ~]$ sudo docker volume create portainer_data
portainer_data
- After creating the volume, we install the Portainer container and expose the port that the Portainer UI will use, and through which we will access that UI:
[opc@portainer2 ~]$ sudo docker run -d -p 9000:9000 –name portainer –restart always -v /var/run/docker.sock:/var/run/docker.sock -v portainer_data:/data portainer/portainer-ce:latest
Unable to find image ‘portainer/portainer-ce:latest’ locally
latest: Pulling from portainer/portainer-ce
772227786281: Pull complete
96fd13befc87: Pull complete
5171176db7f2: Pull complete
a143fdc4fa02: Pull complete
b622730c7bdc: Pull complete
c1cad9f5200f: Pull complete
d8a77b01f2cb: Pull complete
0d4d8543f764: Pull complete
c6fd0bcf10c9: Pull complete
889200668c1c: Pull complete
4f4fb700ef54: Pull complete
Digest: sha256:94c3056dbe879f3a3df06b427713392a0962924914f5c2fc 557de3797f59f926
Status: Downloaded newer image for portainer/portainer-ce:latest 8893b79c137ab4f63bf621180a39fbfed744731a5f9c038218a54a8b05422c2c
- Once Portainer is installed, next run docker ps to ascertain which containers are running and their health, within Docker Engine.

Figure 13.18 – Docker containers running
- Once Portainer is installed, and docker ps shows Portainer is up and running, we’ll have to make sure OCI is configured to allow port 9000 to be visible. In order to expose this port, we’ll have to inform OCI of the Virtual Cloud Network (VCN) we’re working in to allow that port to open.

Figure 13.19 – Security list navigation
After we have navigated to the relevant security list, we’ll want to create a rule like that shown in the following screenshot.

Figure 13.20 – VCN security list rule creation
Once the rule is created, we can see the port exposed outside of OCI.

Figure 13.21 – Security list rule
We’re able to open a browser and access the Portainer UI. In order to reach the UI, we need two items, the VM’s public IP and the port. The following screenshot shows the port, 9000, and the IP is the same IP we used to access the VM when we used ssh to log in to the VM.
You can also find the IP on the OCI console. Navigate to your VM from the Compute menu, then go to Instance, which will take you to all your created VMs in the OCI console menu. Then, copy the IP address of the VM, as shown in the following screenshot.
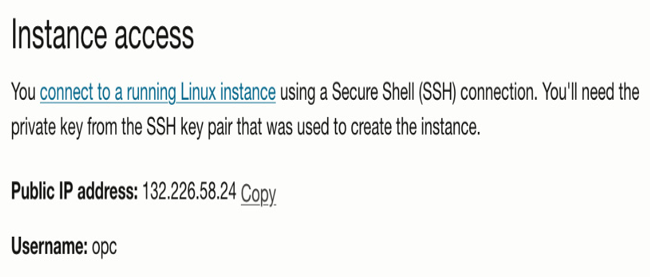
Figure 13.22 – IP of the VM
- Once you have the address, open your browser and enter that information in the form of https://:9000. In our case, this is https://132.226.58.24:9000.
Note: You may have to refresh the Portainer environment if you get a stale page like the following:

Figure 13.23 – Portainer landing page
- In order to refresh, you’ll need to restart the Portainer environment by running the docker restart command:
[opc@portainer2 ~]$ sudo docker restart portainer
portainer
- After you’ve restarted Portainer, you can go back to the browser and refresh the page. You should be able to hit the Portainer welcome page now.
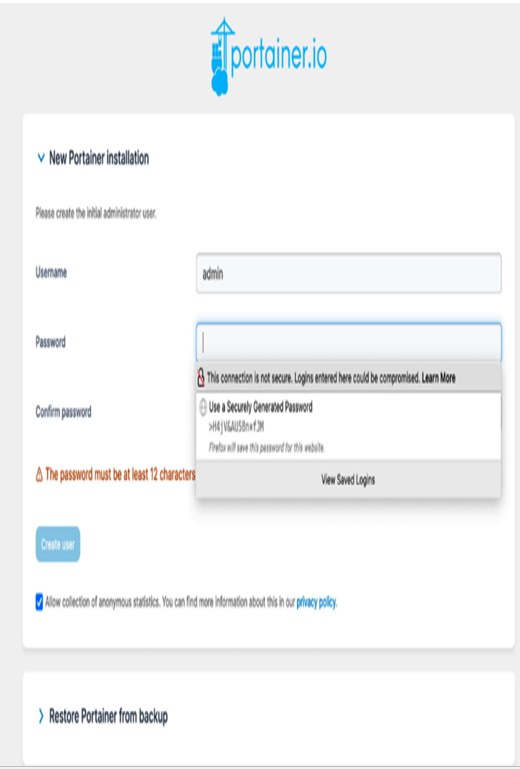
Figure 13.24 – Portainer initial configuration
- Portainer will make you set a 12-digit alphanumeric password for the environment.

Figure 13.25 – Portainer password creation
You now have a working Portainer environment running inside a container in Docker, hosted by a VM in OCI.