For everyone else, let’s make custom images for AWS 6 – Let’s All Go to the Cloud
- After the process has completed, you will be able to log back in to the AWS console and navigate to your EC2 environment. In order to launch a new VM with the ability to select your AMI as the template, click Launch instance.
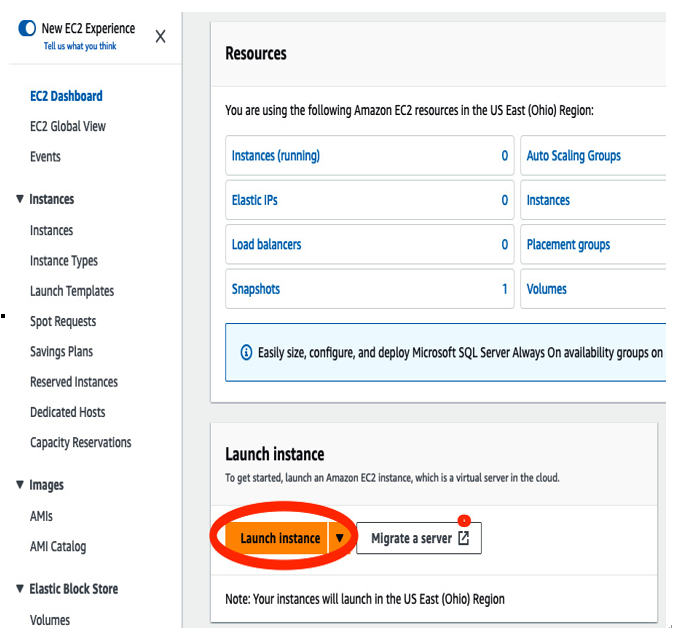
Figure 13.103 – Launching an instance
- Once you’re in the launch menu, you can drill down into other AMIs available.
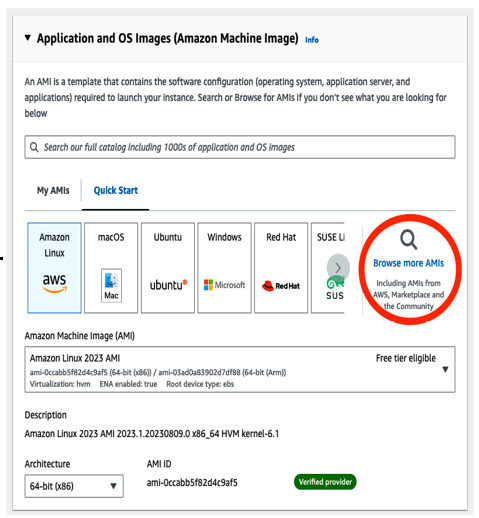
Figure 13.104 – Browse AMIs
- This will take you to your customized AMIs and (as shown earlier in Figure 13.7, Image products), the Marketplace. The Marketplace is where you can share your own AMIs with the community or use ones that others have uploaded.
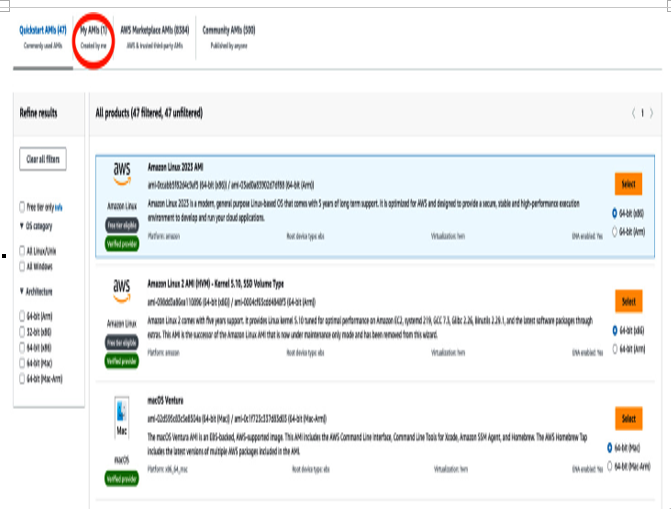
Figure 13.105 – Created AMI
- As shown previously, you’ll see the available AMI, created in this recipe, reflected. Also as an aside, besides the AMIs on offer in the Marketplace, you can also find a number of OSs, including Oracle Linux.
- If you navigate to the newly created AMI, you’ll see that you can select that image as your AMI to execute and create a VM.
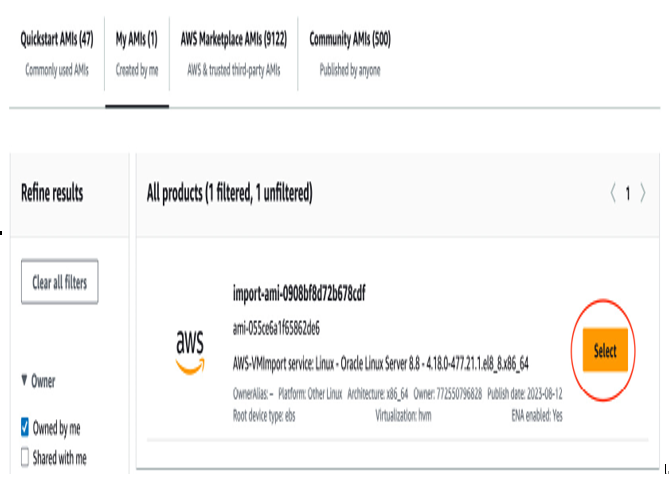
Figure 13.106 – AMI selection
By selecting the AMI, you’re attaching that AMI as your image and executing the creation of a VM from the selected image (the AMI).
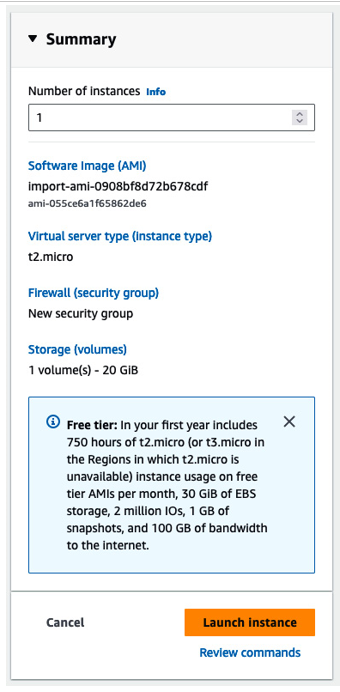
Figure 13.107 – Instance launch configuration
- After selecting the AMI and executing the launch, you’ll enter into the standard launch protocols for creating an AWS VM, including creating a key pair, naming the pair, and downloading the key. You can pre-create these keys as well.
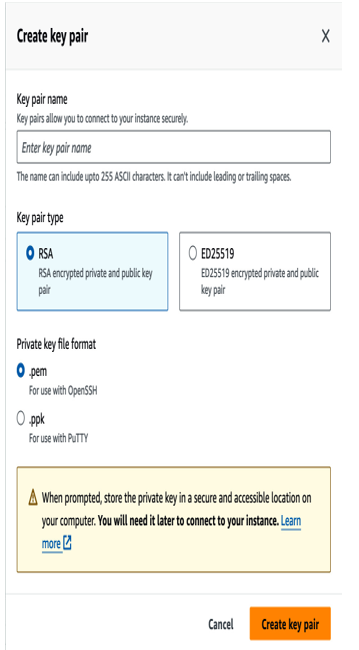
Figure 13.108 – Key pair
- Once you create the key pair, the private key will download to your local machine and you can go ahead and launch your VM.
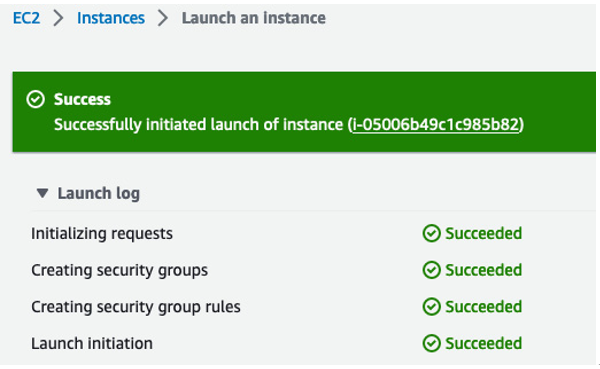
Figure 13.109 – Success status
- You can navigate to your VM by clicking on the instance ID. Once you’re in the instance, you’ll be able to capture the IP and log in to your new VM.
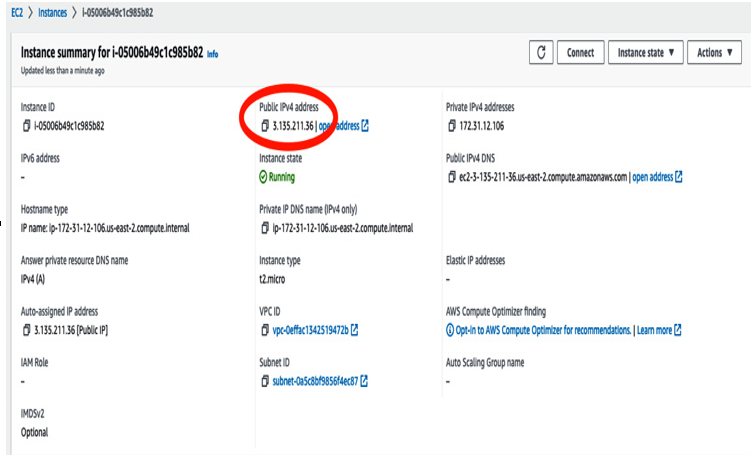
Figure 13.110 – Public IP
- To log in to the machine, you can use the key pair or the passwords created when you built the machine; either will work:
root# ssh [email protected]
[email protected]’s password:
Activate the web console with: systemctl enable –now cockpit.socket
Last login: Sat Aug 12 01:45:46 2023 from 107.200.172.229