For everyone else, let’s make custom images for AWS 4 – Let’s All Go to the Cloud
- Click Add files. This will allow you to choose the correct OVA to upload to the bucket from your own filesystem.

Figure 13.89 – Add files
- We’re going to choose the OVA we created at the beginning of this recipe.
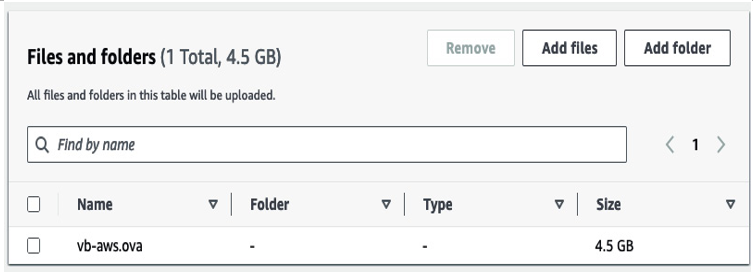
Figure 13.90 – File selection
- Once you’ve added the file, carry out the upload.
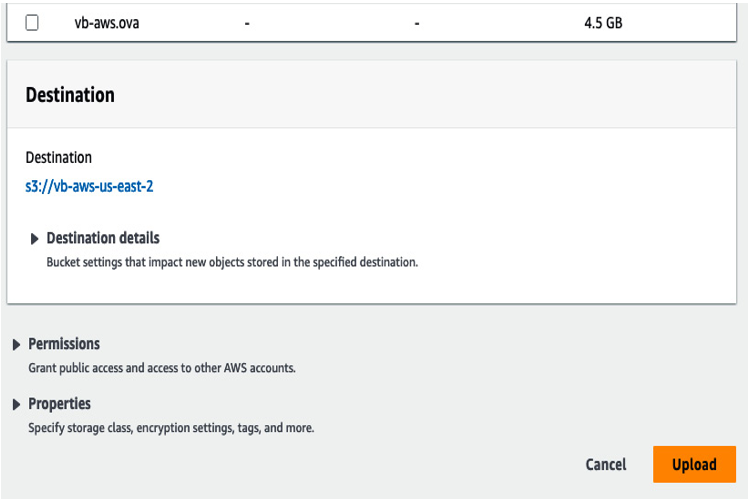
Figure 13.91 – File destination
- The status bar will show the progress and the Summary section will show the destination in S3, as shown in the following screenshot.
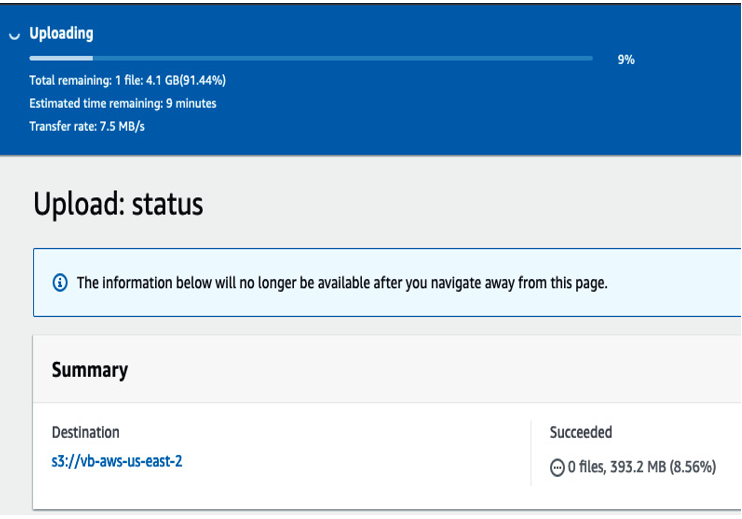
Figure 13.92 – Uploading
NOTE
If you navigate away from this status page, you will not be able to get back to it, so stay on the page until the upload is complete.
- After the upload is complete – or, if you’re up for multitasking, open another AWS console session in the meantime – you’ll have to set up roles and access for the bucket you just created. Navigate to Identity and Access Management (IAM) to access the role data.
- Under Roles, you can create customized roles for access, authentication, or any other IAM-related criteria.
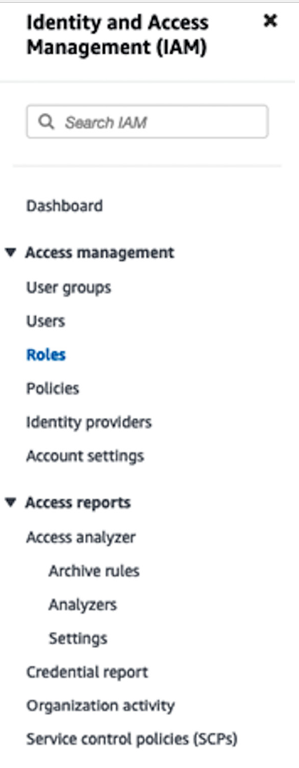
Figure 13.93 – AWS Roles
We’ll be configuring roles and permissions from the command line. We must create an IAM user and secret as without access or authentication, the CLI won’t operate. Then we can configure the CLI to be connected to our account.
To configure and associate the user with that access key, you have to navigate back to IAM, as the following steps will walk through.
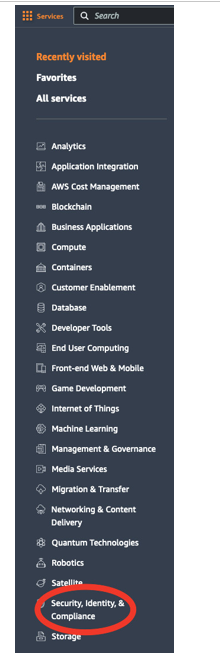
Figure 13.94 – Security, Identity, & Compliance menu
- Once you’ve expanded Security, Identity, & Compliance, you will see the option to navigate to the IAM console. Alternatively, you can type IAM in the search bar. As we’re trying to help you become familiar with the console, we will detail the specific steps to get to this option.
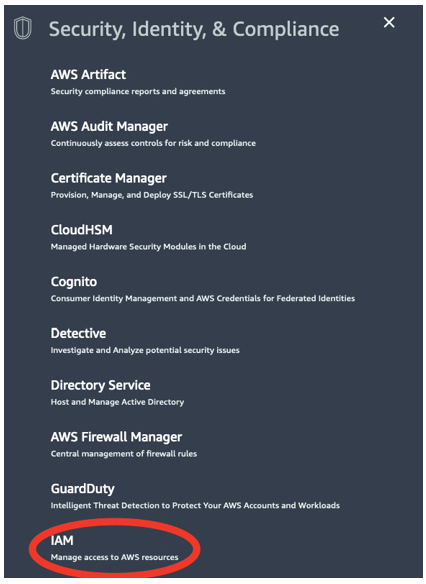
Figure 13.95 – IAM
- In order to access and create keys, we must understand what a key is for, and how it related to a user. So, let’s navigate to Users. We’ll walk through key creation as follows.
Figure 13.96 – Users
- You’ll want to create the user as shown in the following screenshot, which you can do by navigating to Add users. We’ll name our user user-admin:
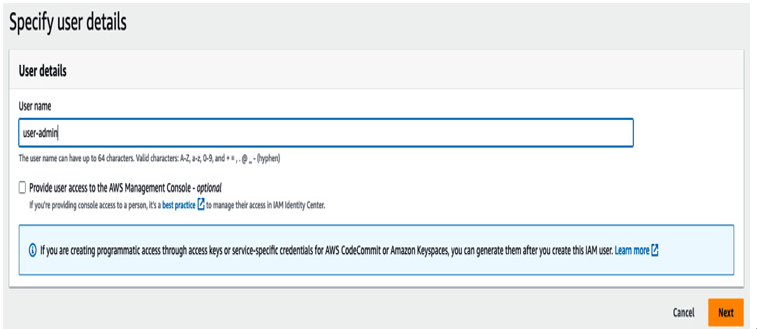
Figure 13.97 – User name
- Now that we’ve named our user, just like with any other system, we need to define the user, add them to a group, and assign privileges.
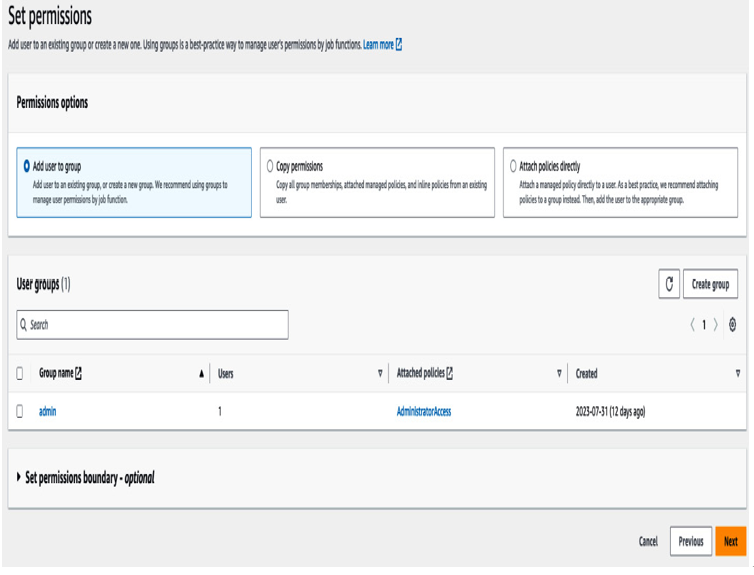
Figure 13.98 – User definition
- We’ll assign this user to the admin group and click Next to continue. You can define permissions by creating a group that more closely aligns with your, or your organization’s, policies. After creating the user, this is where we can generate a key, as shown in the following screenshot, with the secret attached. The following steps walk through how to do this.
Figure 13.99 – Credentials