For everyone else, let’s make custom images for AWS 3 – Let’s All Go to the Cloud
How to do it…
You can upload the exported OVA in one of two ways, either via the command line or through the S3 console. Either way, it’s simply an upload to AWS S3 and it doesn’t really matter how you do it.
Uploading through the S3 console is a fairly straightforward process:
- Log in to your AWS console, as shown:
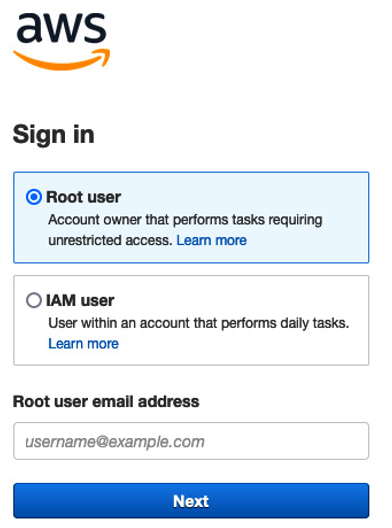
Figure 13.77 – Sign in as root user
- After signing in, navigate to S3.
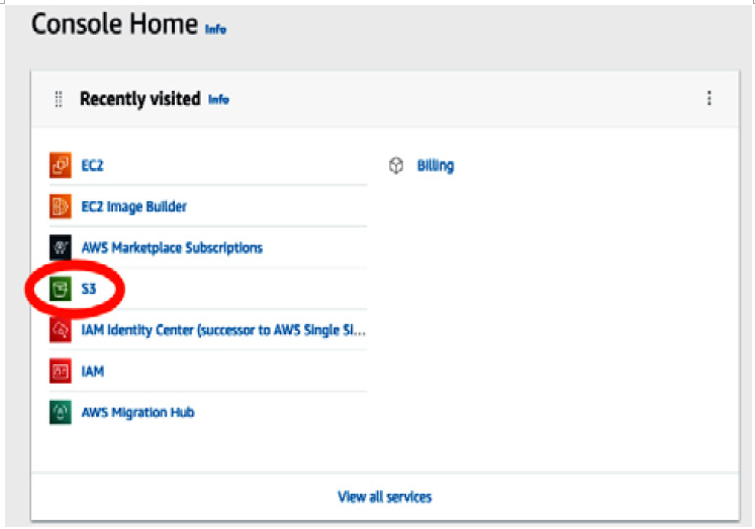
Figure 13.78 – AWS menu
If S3 isn’t on your most recently visited list, navigate to Storage and select S3, or just type S3 in the search bar.
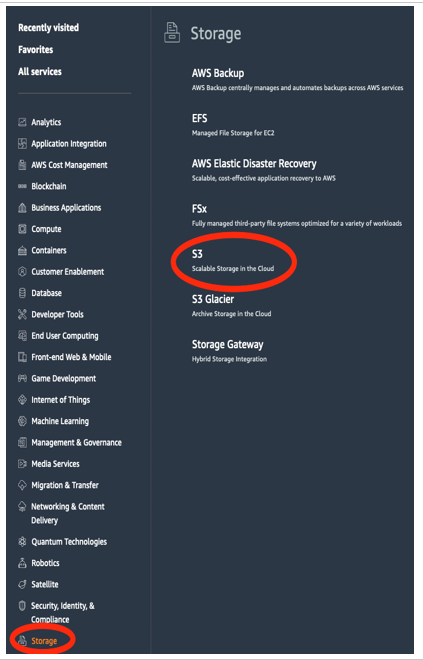
Figure 13.79 – S3 storage
- After navigating to S3, you’ll want to create a bucket for your OVA to be uploaded to. A bucket is essentially object storage and a great place to store images and the like.

Figure 13.80 – S3 bucket
- After selecting Create bucket, you’ll want to name that bucket and configure other aspects of it.
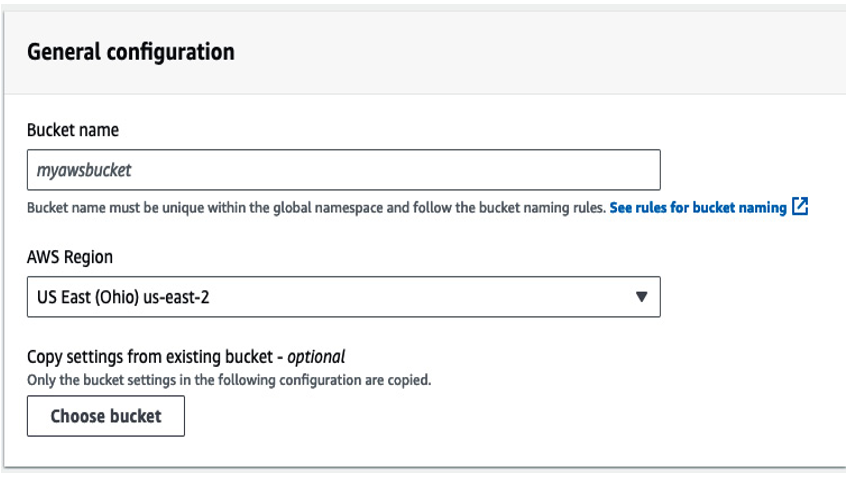
Figure 13.81 – Bucket name and region
- After naming, choose which region, as per the AWS docs, the bucket should be created under. Remember to create the bucket in the same region you’re operating in and will be using for this exercise. In this case, we’ll be deploying into US East 2 – Ohio.
- We won’t be enabling any ACLs here:
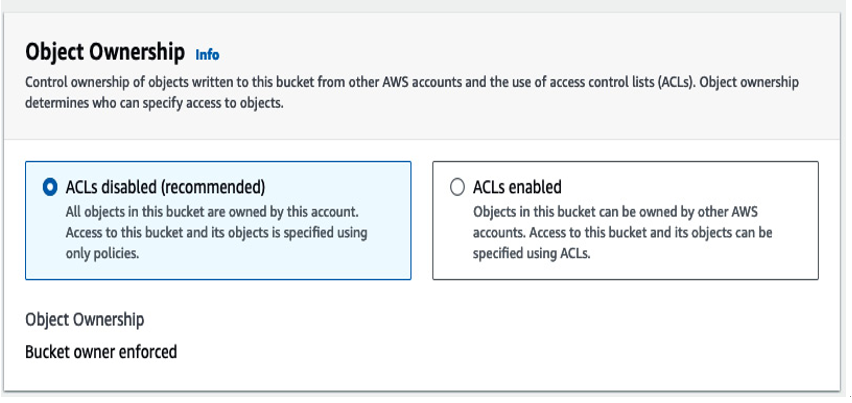
Figure 13.82 – ACLs
- As mentioned previously concerning AWS access control, we’re going to uncheck Block all public access and open the S3 bucket up to direct public (i.e., external) access.
NOTE
This is not generally a best practice; we are just doing this for testing purposes.
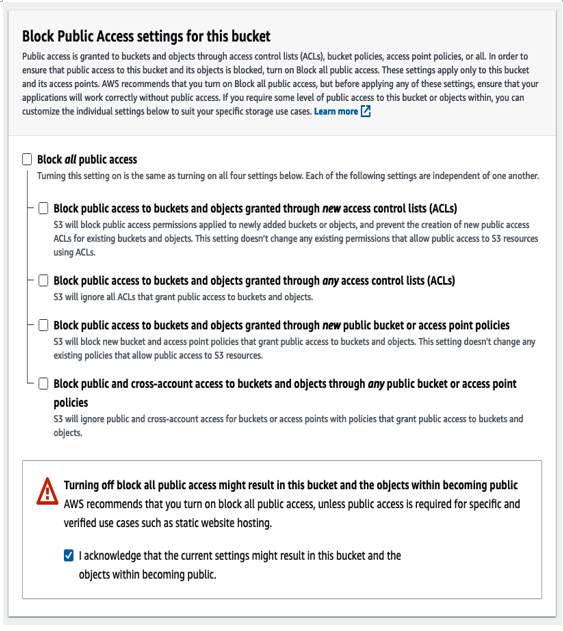
Figure 13.83 – Public access
- We’re going to keep versioning disabled (the default), as shown in the following screenshot, as this is a one-time bucket and will not be kept perpetually. You’ll want to enable versioning when you’re working through the life cycle of a project with multiple versions, for example, multiple iterations of an image.
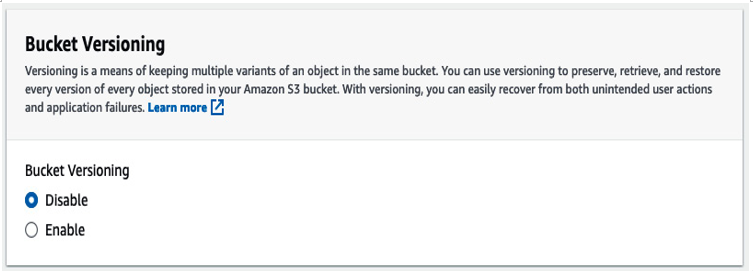
Figure 13.84 – Versioning
- Again, since we’re keeping this basic, we will not be associating any tags either.
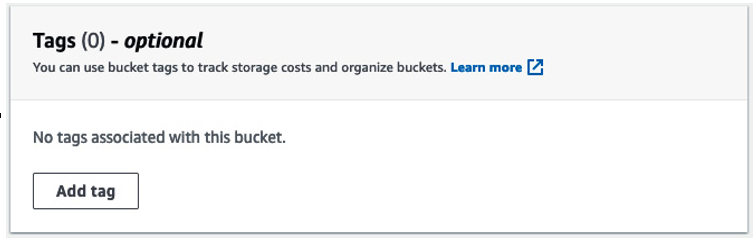
Figure 13.85 – Tags
- We’re going to use standard server-side encryption with S3-managed keys.
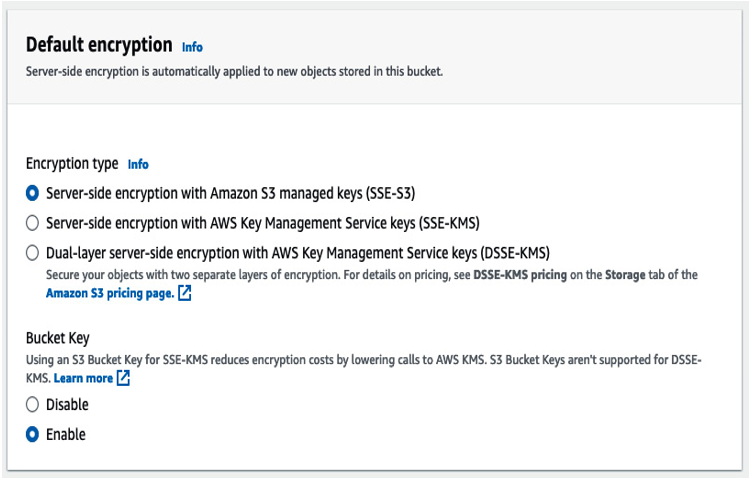
Figure 13.86 – Encryption
- Ignore the advanced options as well and go ahead with creating the bucket.
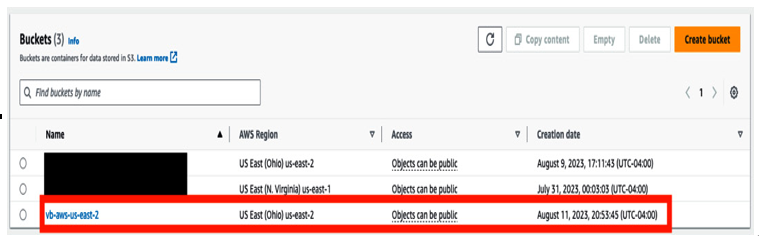
Figure 13.87 – Bucket display
- Navigate to the newly created vb-aws-us-east-2 bucket and click on Upload.
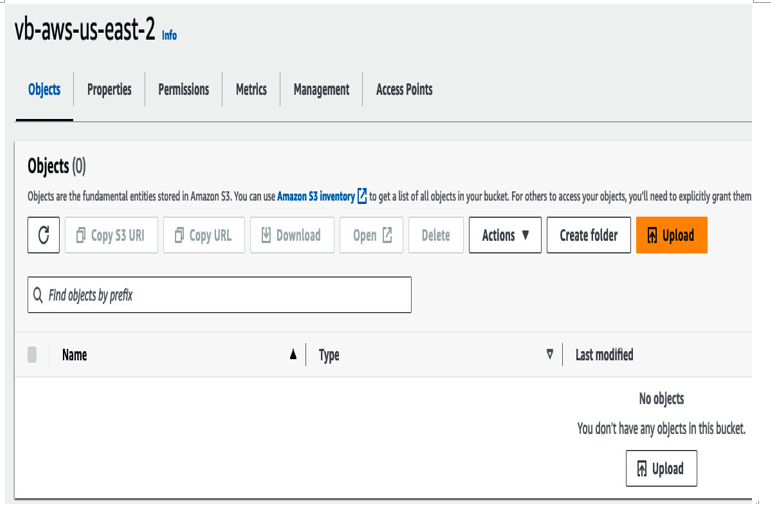
Figure 13.88 – Object upload