For everyone else, let’s make custom images for AWS 2 – Let’s All Go to the Cloud
If you remember, in the previous section, we allocated CPU and memory. Just like in any other build environment, we need to specify, install, and configure resources. Whether they are virtual or physical, we’re still installing resources. In this case, we’re configuring this VM with 4 GB of RAM and two vCPUs. Remember, a vCPU is the equivalent of a processor thread. So, here we’re installing two vCPUs, which is the equivalent of one physical core (two threads (vCPUs) = one processor core).
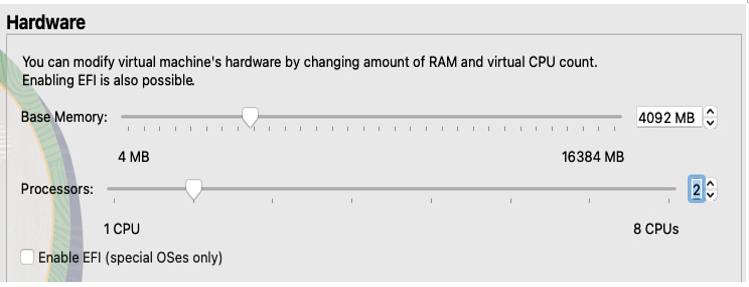
Figure 13.73 – Resources
After we’ve configured the CPU and memory resources, we’re ready to move on to choosing the media (disk) we’re attaching to our VM. In this case, we’re not going to choose the default of creating a disk, instead using an existing one. Remember, we created our own drive in .vmdk format, so let’s select to use an existing virtual hard disk file here.
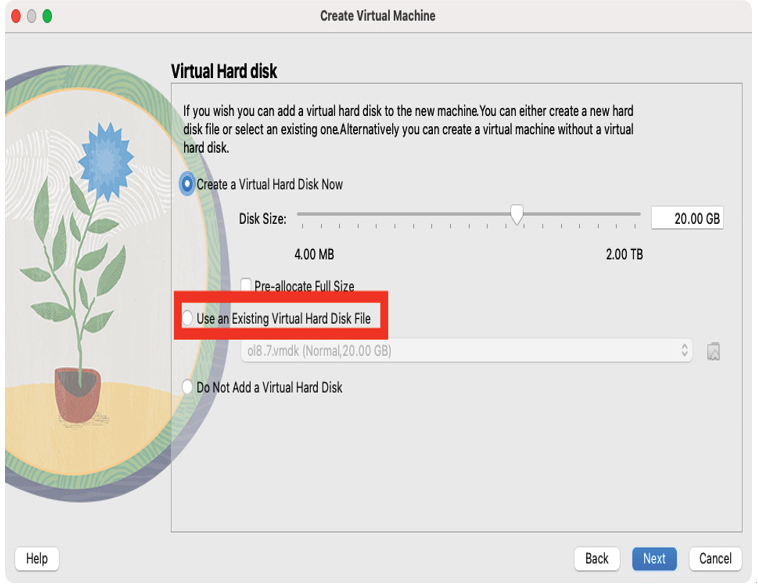
Figure 13.74 – Options to create or use an existing disk
Remember to select the drive (assuming you created one before) that matches the name of the VM, or create a new one. Note that the .vmdk extension should be used again in order for it to be recognized.
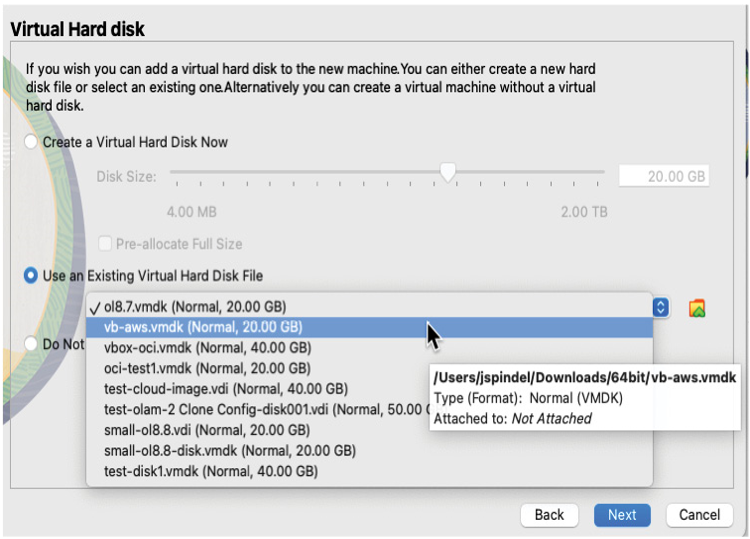
Figure 13.75 – Disk selection
As in past recipes, we confirm our selections on the Summary screen and execute the configuration by selecting Finish. We won’t be walking through the build, as we have other recipes that take you through configuring OSs.
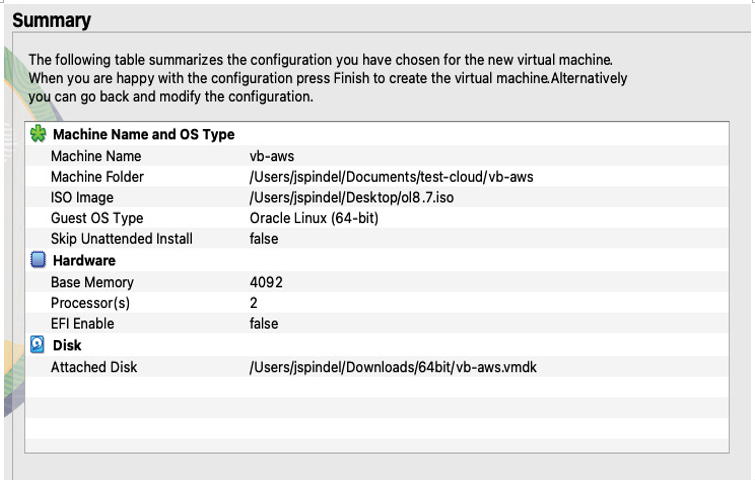
Figure 13.76 – Configuration summary
Once we have built the Linux OS, we can walk through configuring our AWS environment, including setting up the CLI to upload and execute our AMI upon its creation, from our OVA. Remember, in the previous recipe, we built out a VM and created an OCI from that OVA image in VirtualBox. We’ll be doing the same here, exporting from VirtualBox and importing into AWS. The difference here is that there isn’t a fancy VirtualBox environment to work from. We’ll be using the AWS CLI to import that OVA image into our S3 environment. However, as mentioned previously, in order to do that, we need to configure that connection and have it in place. We’ll walk through those settings on AWS to migrate from VirtualBox to AWS, and see what that transformation entails.
While the OVA is exporting, you’ll want to start preparing the AWS CLI configuration.